Many embedded devices run a stripped down version of Linux and have poorly documented diagnostic interfaces.
In order to find potential vulnerabilities or undiscovered functionality in these devices, I decided to learn how to interface with them using UART, a terminal emulator, and specialized cables.My goal was to use this technology to interface with the devices and see what I could find.
I am no stranger to flashing devices, having flashed routers, access points and android phones. A crucial step in this process is “rooting” your device.
Many consumer devices, if not almost all of them do not give “root” access to their users because carriers want to prevent users from accidentally breaking things, as most users are prone to do.
Being root comes with a big caveat. There is no safety net. If you’re root, the system assumes you know what you are doing, even if the actions you do as root are destructive.
When I was installing the PirateBox on the tp-link 2030 and 2040, I ran into that very kind of trouble. I accidentally bricked both of my access points, while trying to update their respective firmware. One of the possible solutions I found online involved re-flashing the firmware of these devices via the UART interface.
“Serial console: The serial console connector does not utilise the regular TP-Link pinouts. Two pads labelled TP_OUT and TP_IN are the TX and RX signals. 115200 8n1 Note that the pads can very easily be lifted. There is slightly more mechanical strength if you can solder to the surface-mount components to which the pads are connected–but this also takes care–your device could easily be destroyed…”
And this is where I stopped reading, and found an alternate solution to “un-brick” my routers.
Having modified several devices in the past, I was not completely unfamiliar with the concept of UART, JTAG and Serial Port recovery. I had always looked at these methods as the absolute last resort — the sort of thing you undertake when you have completely bricked your device and have nothing else to lose.
During this research, I also discovered that the UART interface can, on some devices, provide you with root shell access with no password required. This tantalizing bit of information is what prompted me to look into this subject a little more.
After some quick web research, I found that this is well covered ground. My research lead me here and here as well.
So it has been done before, still there are a multitude of devices to try interfacing with via UART and new ones coming out every day. As indicated in Toby Kohlenberg & Mickey Shkatov BlackHat talk, there is a wealth of interesting things that you can do when you have such privileged access as a root shell…
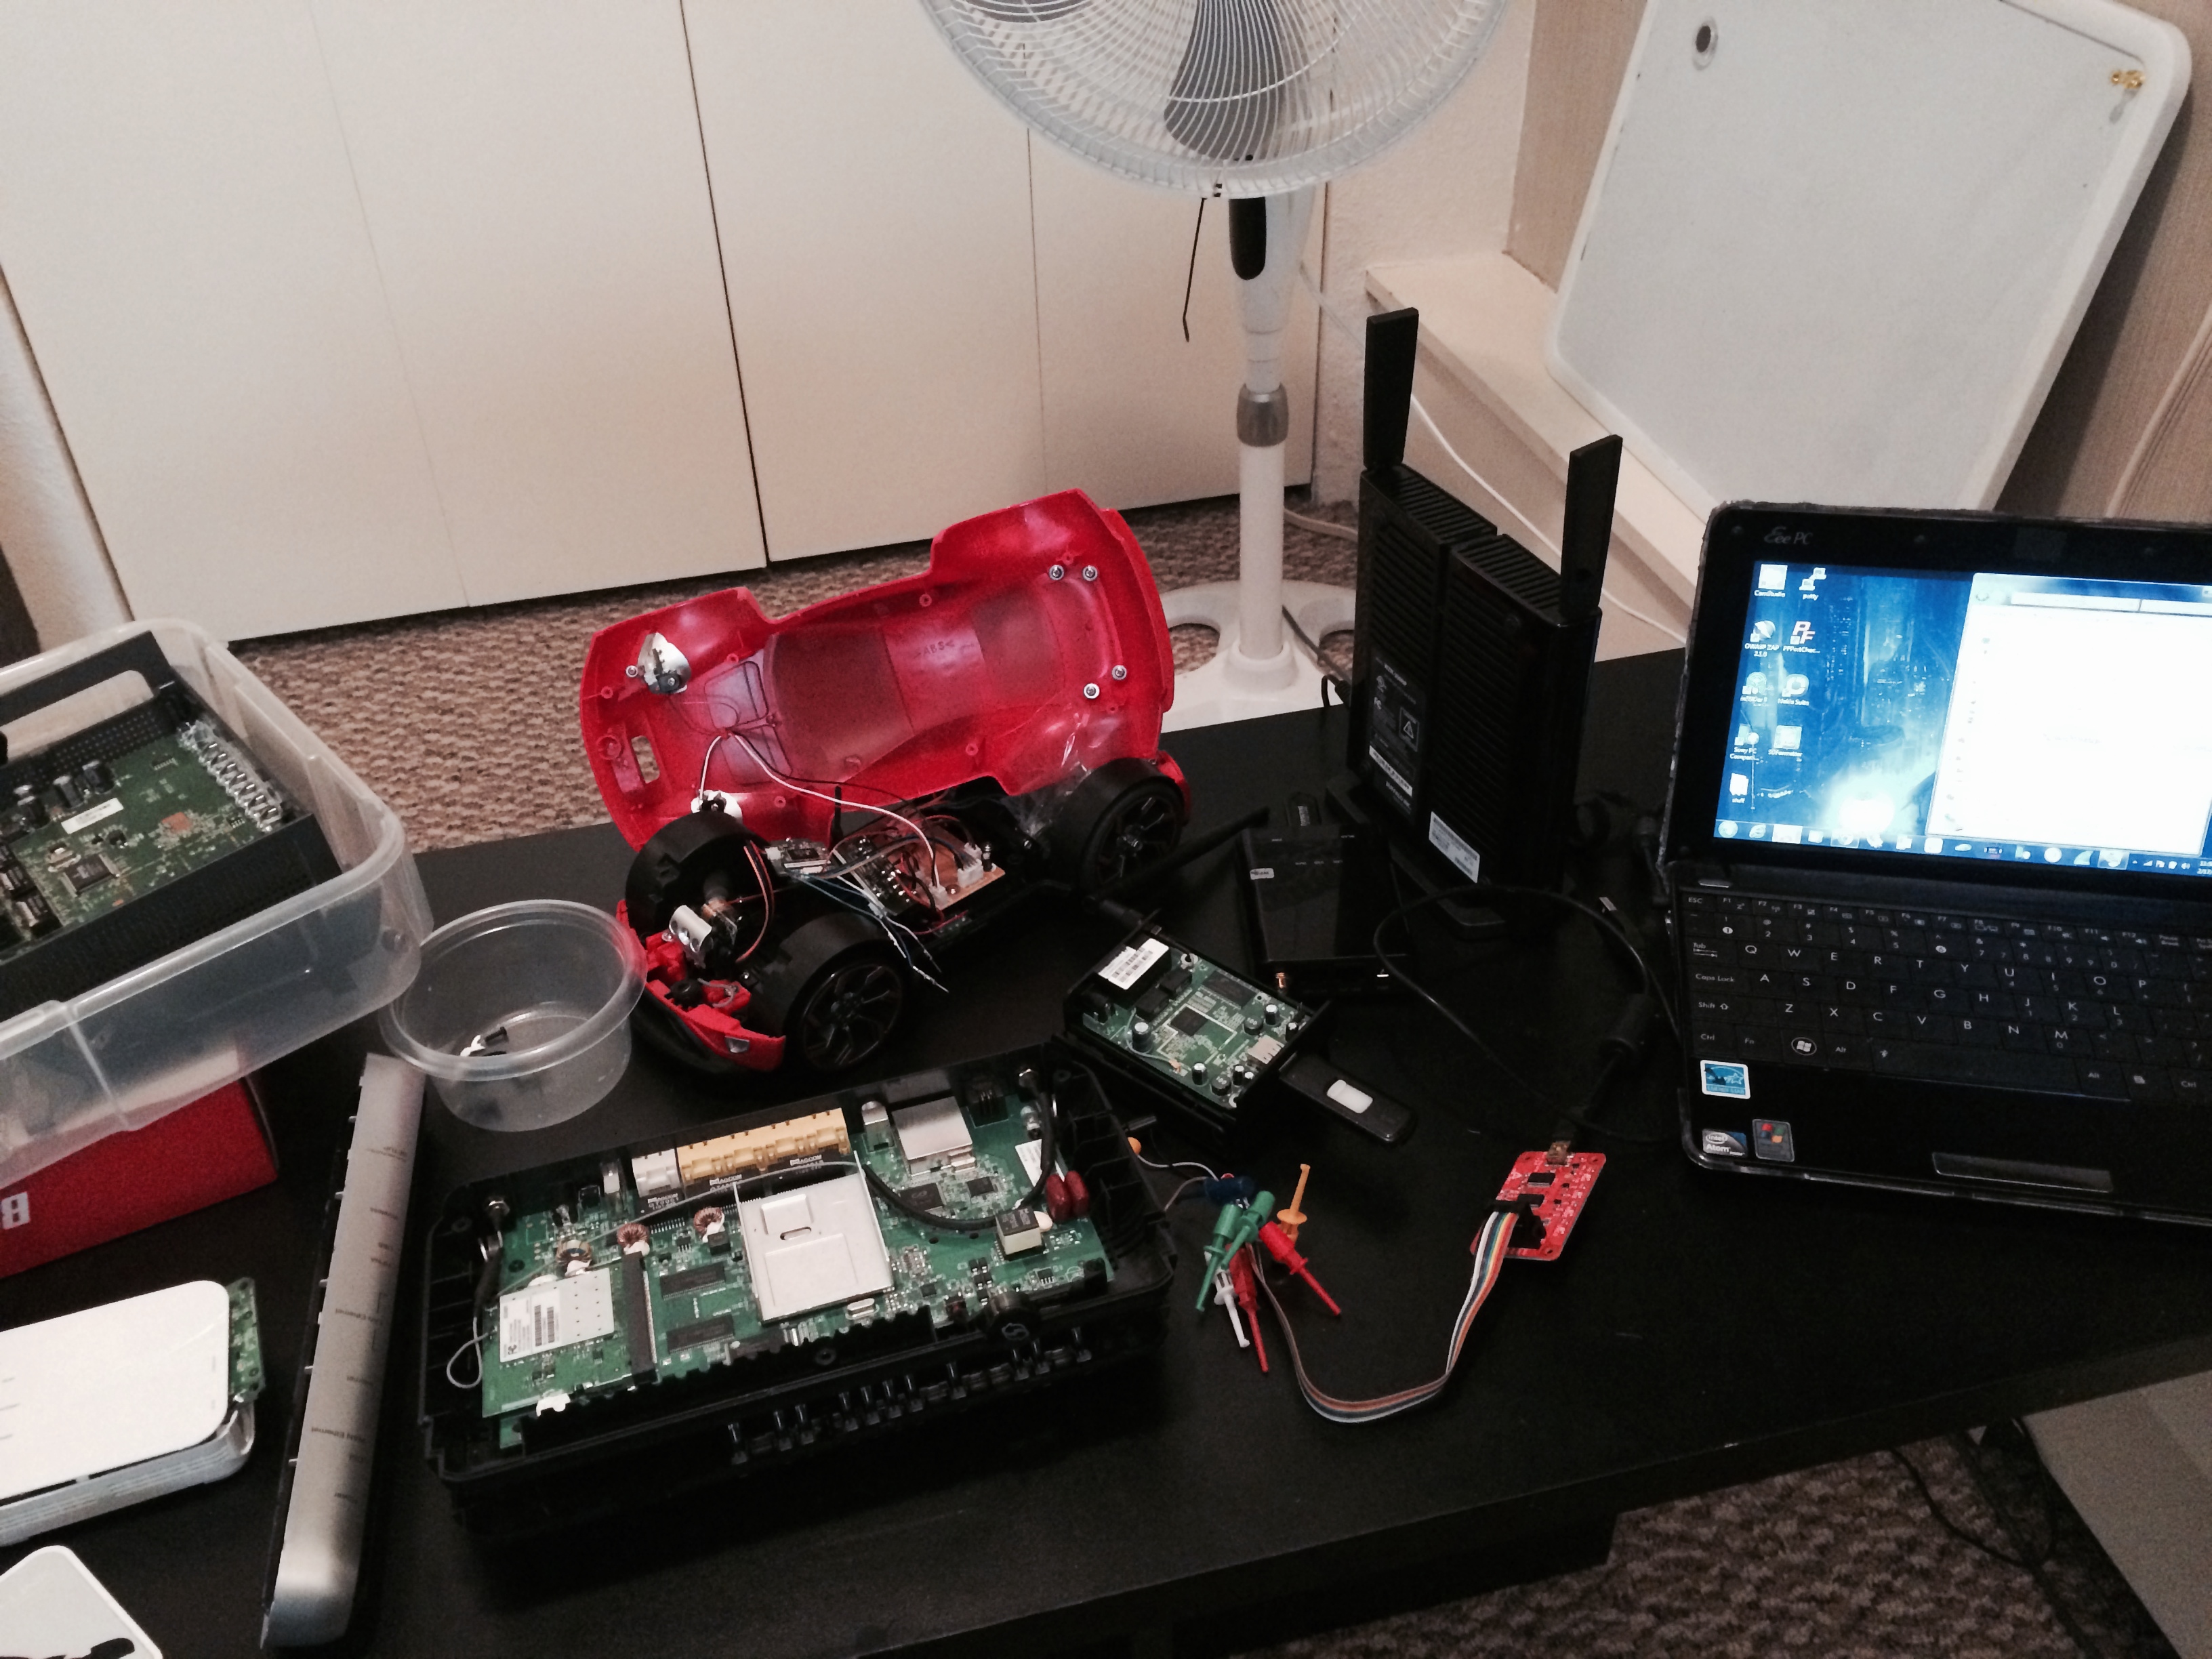
I set about acquiring the necessary equipment to explore this. I needed a USB to UART cable. I needed the USB version, because I do not own a computer that has a bona-fide serial port connector. Very few machines still do, and almost nothing current comes equipped with such a port anymore.
I also ordered a BusPirate and a probe kit, to make connecting to pin outs easier. Last but not least, I also got a volt meter.
I started out with what I thought would be easy stuff. I had an open mesh router lying around. This is a device that has been thoroughly hacked and is very well documented. I was hoping that connecting to it via UART would be easy.
I pried it open, hoping to see this:

Internals of a v1 OM1P
The double row of pins are well documented and connecting a UART cable would of been simple.
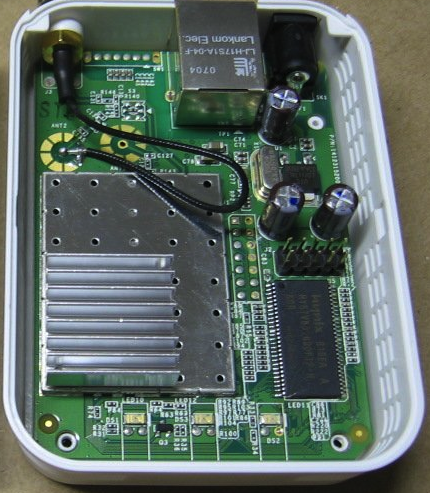
However, mine was slightly different. The very pins I was interested in were a single row, rather than 2 rows. This is something that you can expect. Manufacturers can maximize profits by swapping off the shelf components. Sometimes the pictures you find on the web are applicable for an earlier revision of the hardware, as it was in my case.

OpenMesh OM1P v2
I used the voltmeter to probe the 4 pins, found the ground on the far right pin. Some web research and various posts on forums hinted that TX & RX are the middle pins.
I connected it all up, fired up a terminal emulator, and turned on the OM1P mesh router.
I configured the terminal software, and the BusPirate to act as transparent monitor.
Despite my multiple attempts, the best I ever got out of the OM1P v2 mesh router was this:

Found ST Flash Device
I have to admit I was disappointed, after all the effort involved.

Looks impressive at least.
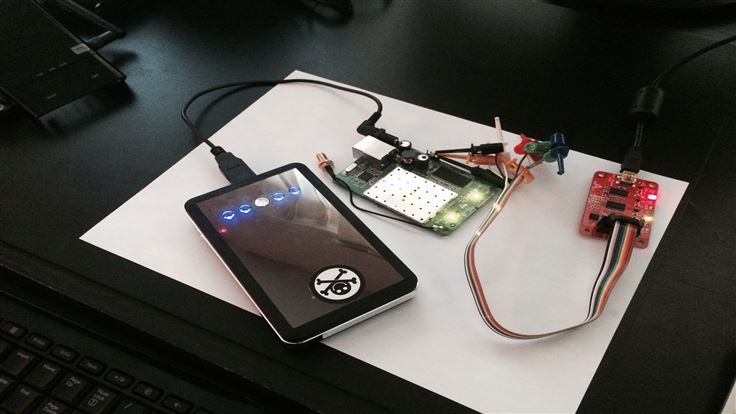
The next device I tried, in the hopes of getting more than a terse and brief message was my mark IV WiFi Pineapple. You may remember this device from the portable hacking belt I wrote about in this post. I did get it to show me the boot up messages, but it was very unreliable. I repeated my steps with a second WiFi Pineapple, and got the same results.

Sometimes, the Pineapple UART works.

Sometimes it doesn’t.
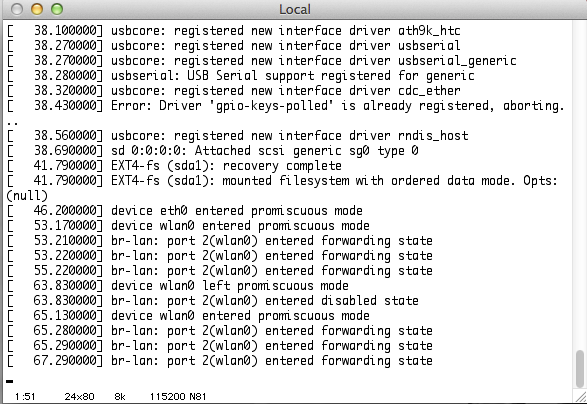
When it works, I get to see the same messages you would see as the unit is starting up prior to the login prompt. Why it does not, I see a bunch of capitalized letters. Even if this behavior is intermittent, it is a more promising result. The long string of letters tells me that my setup is reading something.
Next I tried interfacing with my Rasberry-Pi, another device that has UART pinout very well documented. I finally met with success.
As you can see at the very beginning of the video, you are presented with the option to enter the recovery console. This is one of the typical uses for the UART access. The system continues to boot up if this isn’t selected, and you can see all the messages it displays, including complaining about the files system not being cleanly un-mounted.
Why go to all this trouble? Some embedded devices do not have a monitor out. Using this technique you can see everything they do as they start up, and this might be useful for troubleshooting. You can also recover from a bad flash, or a corrupted filesystem, and yes, some devices will dump you at a root command shell, once they complete their booting up sequence.
Now I just need to start on these and see what kind of results I get…


