Windows AppLocker is a feature that was introduced in Windows 7 and Windows Server 2008 R2 as a means to limit the use of unwanted applications. AppLocker provides administrators with the ability to specify which users can run specific applications.
AppLocker was designed to replace the Software Restriction Policies feature. It is considered a potentially powerful tool to make business environments more secure. But often complaints are heard that it is not flexible enough for most organizations. On the other hand it’s a tool that can be used by advanced home users as well. 
What can your rules be based upon?
On one hand, Windows AppLocker only caters to certain types of files and not all. Rules can be created for files with these extensions:
- Executables : exe and com
- Scripts : js, ps1, vbs, cmd and bat
- Windows Installer files : msi and msp
- Dynamic-link libraries : dll and ocx (This rule collection has to be enabled as it is not enabled by default)
- Packaged app Rules : aappx (Windows 8 & 10 only)
The rules can be based on several file properties, for example file-name, product-name or “signed by”. And even by file-hash if the file is not signed. On the other hand, rules can be based on groups of users or on individual users. The basic type of rules can be defined as black- and white-listing, but with the use of exceptions this can easily be turned into something a little more powerful.

Methods of use
As some system administrators may have found out, you can immediately enforce your rules and get confronted with some very unhappy users that could no longer use their favorite programs. To forgo this mishaps by enforcing a set of rules which is one method of use, there is also something called “Audit” mode: when a rule collection is set to “Audit Only” mode, instead of enforcing the rules, information about the rule and the application are written to the AppLocker event log. The “Audit” mode is both used in attempts to predict the effect of rules before enforcing them and to detect which applications are in use. Finding out which applications are active has been known to be an eye-opener and even led to the discovery of active malware.
Creating rules
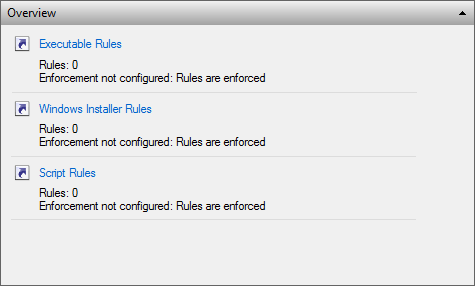
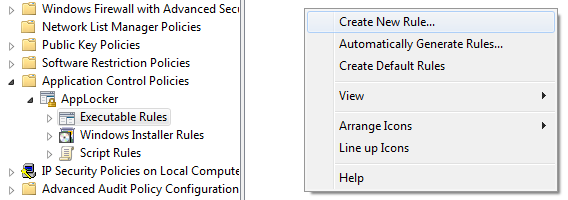
The AppLocker Microsoft Management Console (MMC) snap-in is the designated console to create rules. To open the snap-in you can run “secpol.msc” and navigate to “Application Control Policies” and select “AppLocker”. Now you can select which type of rule you would like to create by selecting the category in the right hand pane.
By right-clicking in the resulting field you can choose to “Create New Rule”.
Example
Let’s create a rule as an example. We’ll use the malware described here as a starting point and try to stop it from running. Please note that rules are enforced by default and if you are new at this, take my advice and try them in Audit mode first. Our goal will be to block the executables that the malware drops in the “C:a“ folder. The steps outlined here come after choosing “Create New Rule” under “Executable rules”.
You can quickly read the “Before You Begin” screen. Since we are trying to stop malware we will not “Install the applications you want to create the rules for on this computer”. Click “Next” when you are done reading.
In the “Permissions” screen we are going to check “Deny” and “Everyone” since we want to stop something regardless of who gives the orders for it.

Click “Next” to go to the “Conditions” screen, where we will check “Path” and click “Next”.

Since we have not installed the malware we will have to manually fill out the path. My advice would be to click “Browse Folders…” and Select “Local Disk (C:)“. Then manually add “a” in between the resulting path, so that the full path looks like this: “%OSDRIVE%a*“. This means that every executable in the folder “a“ or any of its subfolders will be stopped from running.

Click “Next” and do the same in the “Exceptions” screen since we will not be adding any exceptions.
In the “Name and Description” screen you can name your rule which can make troubleshooting easier if you have a lot of rules and something unwanted is being blocked. Click “Create” to complete the process of creating a new rule.
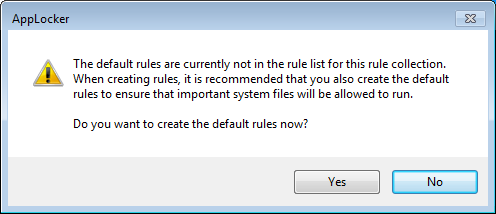
If this was your first rule you will be asked if you want to create the default rules as well. This is advisable since they are designed to prevent you from locking yourself out of programs and applications that you may need.
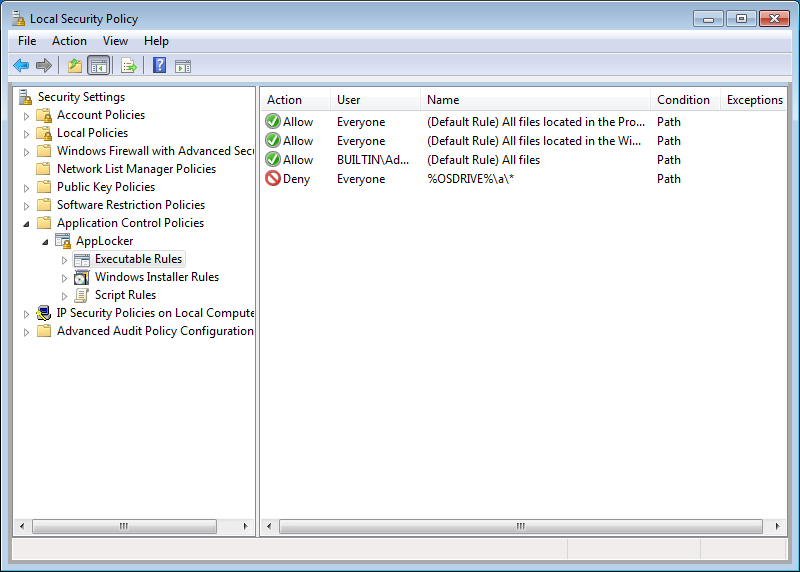
You will now see the newly created rule(s) in the “Local Security Policy” screen.
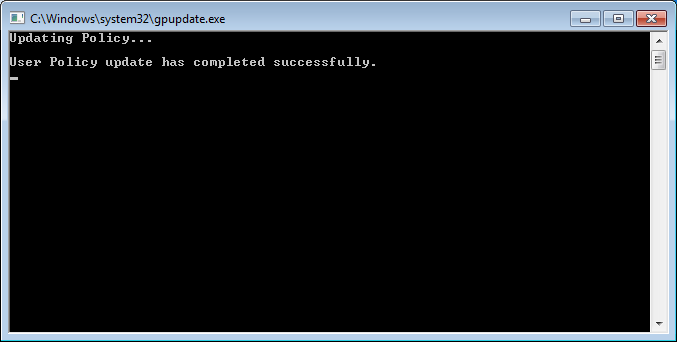
But you are not done yet. To enforce the rules the Application Identity service needs to be running. If it is not active, run “services.msc” find the service and “Start” it. If you want you can right-click the service, choose “Properties” and select “Automatic” as the “Startup Type”. That will spare you the effort of having to do it manually each time. And to finalize you need to run the command “GPUpdate” from the “Run screen” or from the “Command Prompt” to update the policies.
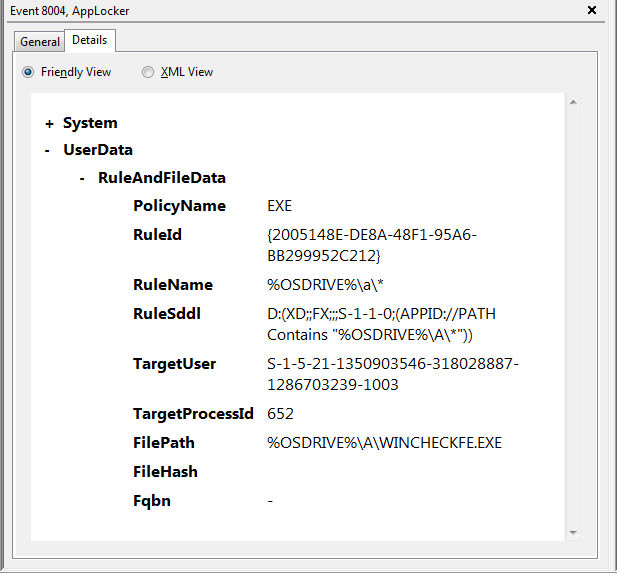
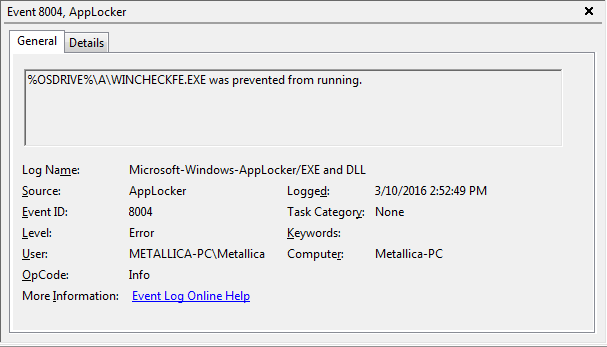
After running the malware installer we could see in “Eventviewer” > “Applications and Services Logs” > Microsoft” > “Windows” > “AppLocker” > “EXE and DLL” that even though we let the installer drop all its files in the a folder, the main component “WINCHECKFE.EXE” was prevented from running. Success!
Summary
We looked briefly at the possibilities that Windows AppLocker provides. Discussing the options and the short-comings, hoping to give you an idea whether it can be of use to you. Also we provided a step-by-step example on how to create and use a rule.
Links:
Windows Server: Create an AppLocker Rule
Pieter Arntz
