Attention makers! Are you looking for a challenging project that not only gets your gears grinding but helps to keep you secure while traveling? Welcome to the build-your-own security camera tutorial.
The impetus for this project originated from events that took place at Defcon 26, where hotel security staff inspected attendee rooms while not properly identifying themselves.
Gross overreach. Violation of your rights. Violation of your privacy. These are always good motivators. The whole story is well covered here.
So our goal is to build a motion-activated security camera that we can use to monitor our own hotel rooms, homes, or other locations. Let’s begin.
Choosing the hardware
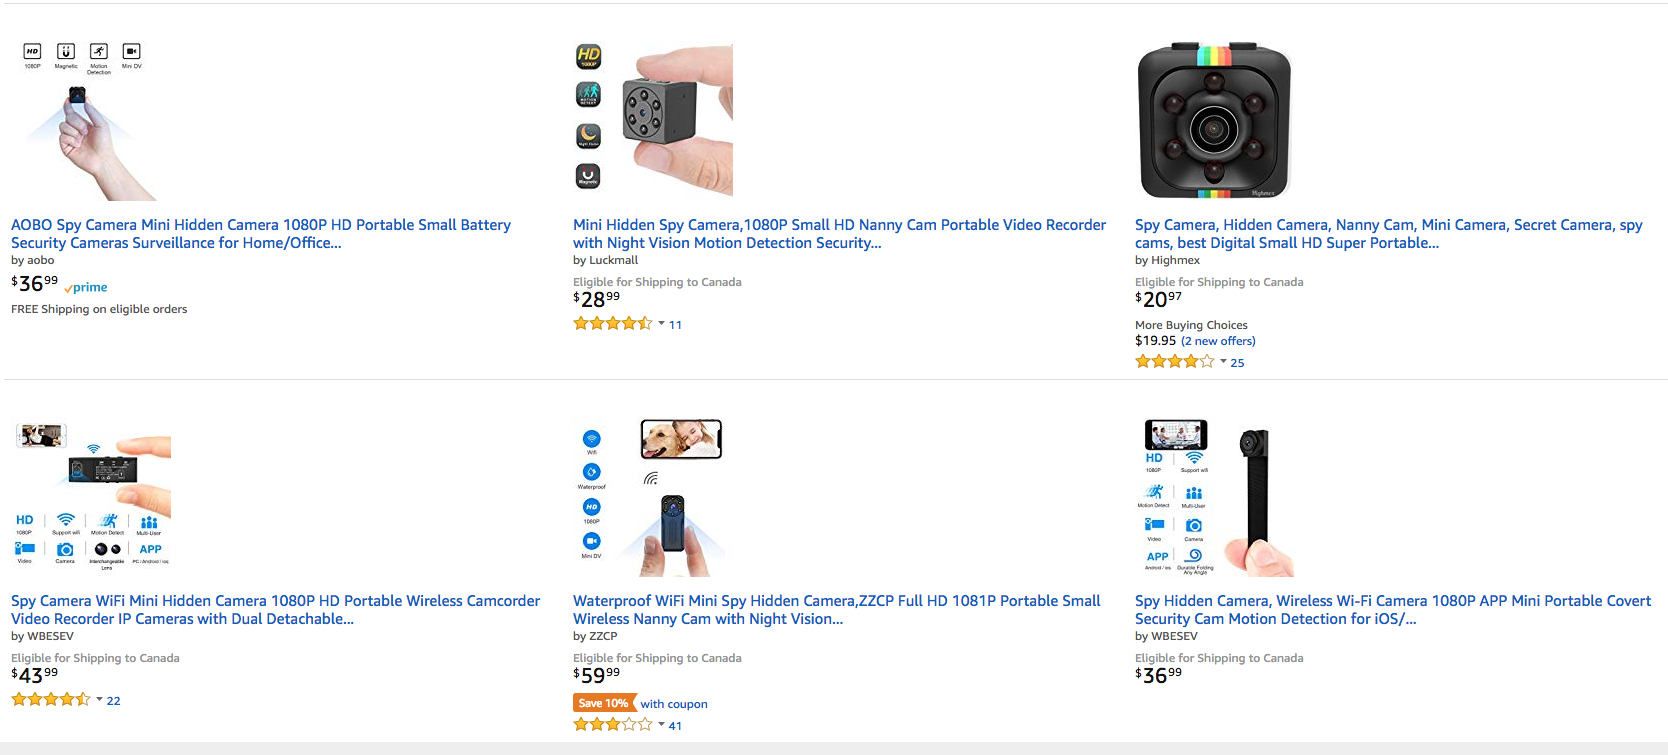
While there does exist ready-made hardware that would satisfy my requirements, as a quick web search demonstrated, I would need to assess the security posture of each of these products. Whereas I can build satisfactory security into the hardware if I build it myself.
Building such a device should be possible with open-source software and off-the-shelf components. This should be easy, right?
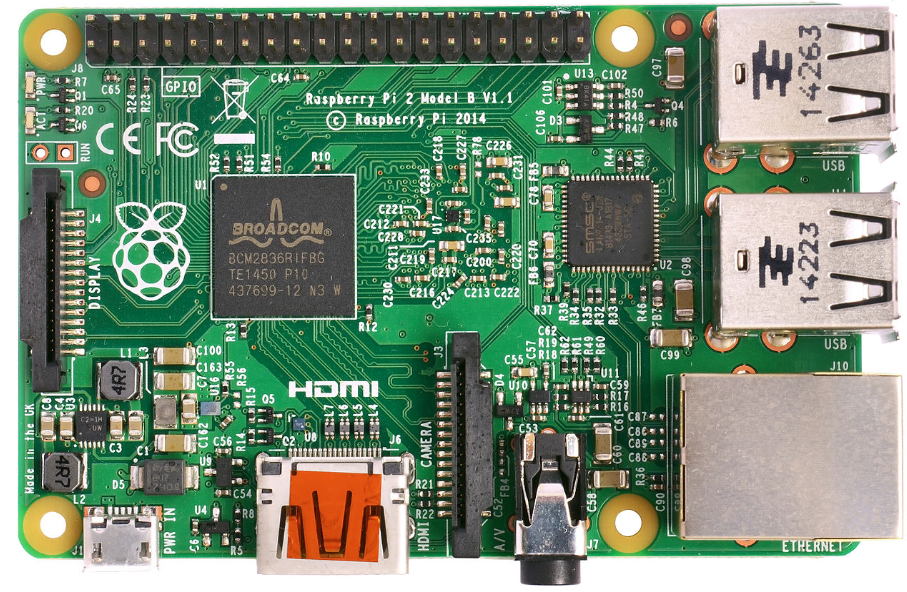
After a quick rummage through my spare parts bin, I found a first-generation Rasberry Pi.
After some careful consideration, I elected to have the captured video and stills saved locally. This device is going to be deployed on the most hostile network ever, after all. I could hard wire it to the hotel network, or try and provide it with cellular connectivity maybe by using something like a nova global cellular modem.
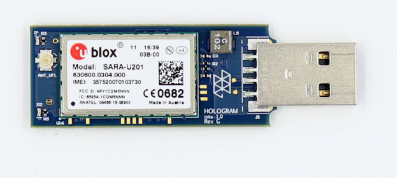
I decided against it: Better to start small and limit the scope of the project. I can always add this functionality later, and using a cellular modem isn’t a guarantee that the network traffic will not be tampered with or intercepted.
After some research, I confirmed that the latest version of Rasbian (the official Rasberry Pi OS) still supports the original Rasberry Pi. Further digging yielded 16gb and 32gb SD cards. Both of these would be well suited to the task. I started by performing a fresh install of the Rasbian OS to confirm that everything is okay with this Rasberry Pi. It’s been a few years and I had forgotten exactly why it had been disused.
I downloaded the latest version of Rasbian here.
Software and tools
I then extracted the 2018-06-27-raspbian-stretch.img from the raspbian-2018-06-29/2018-06-27-raspbian-stretch.zip file, and used Etcher to copy it to said SD card.

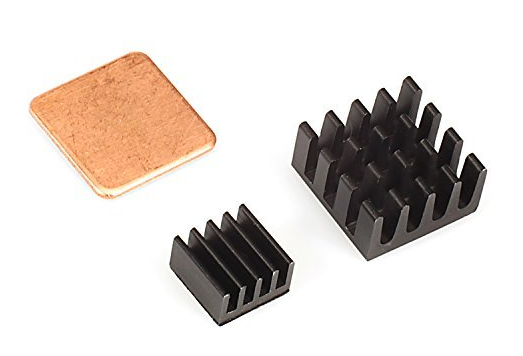
After inserting the SD card into the RPI and connecting a keyboard and monitor to it, I played around with it for a while. Once I was satisfied that, other than being a little old, everything was working, I added some heatsinks, as it is a cheap upgrade. I foresee the device running for several days in a row.
I also took the opportunity to verify the exact model of Rasberry Pi I had. This was achieved with the command: cat /proc/device-tree/model
The result was: Rasberry Pi Model b rev. 2
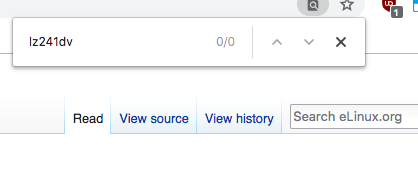
I also dug up a cheap USB webcam I already had. The plan was to use that to recycle old hardware and avoid additional costs. (More later on why this was not a good idea for this particular project.) The webcam I had kicking around was a Logitech LZ241DV. I Researched compatibility on https://elinux.org/RPi_USB_Webcams. It didn’t show much promise.
Choosing an OS
During my research for this project, it quickly became apparent that the most suited operating system for this project isn’t in fact Rasbian, butmotionEyeOS is, according to its github wiki, a Linux distribution that turns a single-board computer into a video surveillance system.
Not only is motioneyeOS specifically tailored to our task, but it has a Rasberry Pi–specific compiled version. I downloaded the appropriate versions for the hardware I have on hand.
I installed motioneyeOS on a different SD card, connected the USB camera, wired in a network cable, and plugged it into a test network I have in the lab.
To connect to the motioneyeOS Rasberry Pi, you can use a browser on any machine on the same network and simply type the IP address of the motioneyeOS Rasberry Pi into the browser. Then, you will be greeted with a web-based management interface.
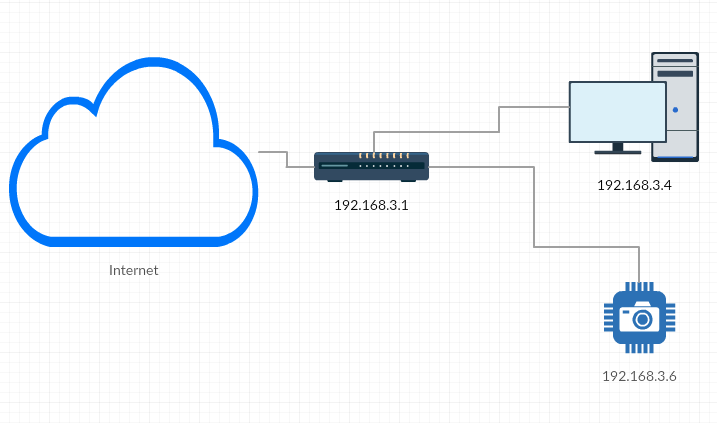
Once the Rasberry Pi was fully booted, I ran a quick Nmap scan of the network on a machine that also resides on the same network: nmap -sP 192.168.3.0/24
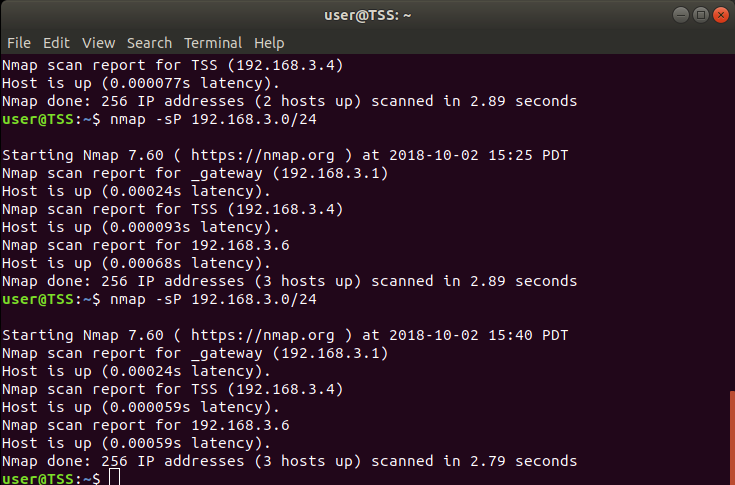
It is best to perform this nmap scan before and after turning the Rasberry Pi on. The new address shown by nmap will be the instance of motioneyeOS.
NB: This IP address can change between reboots!
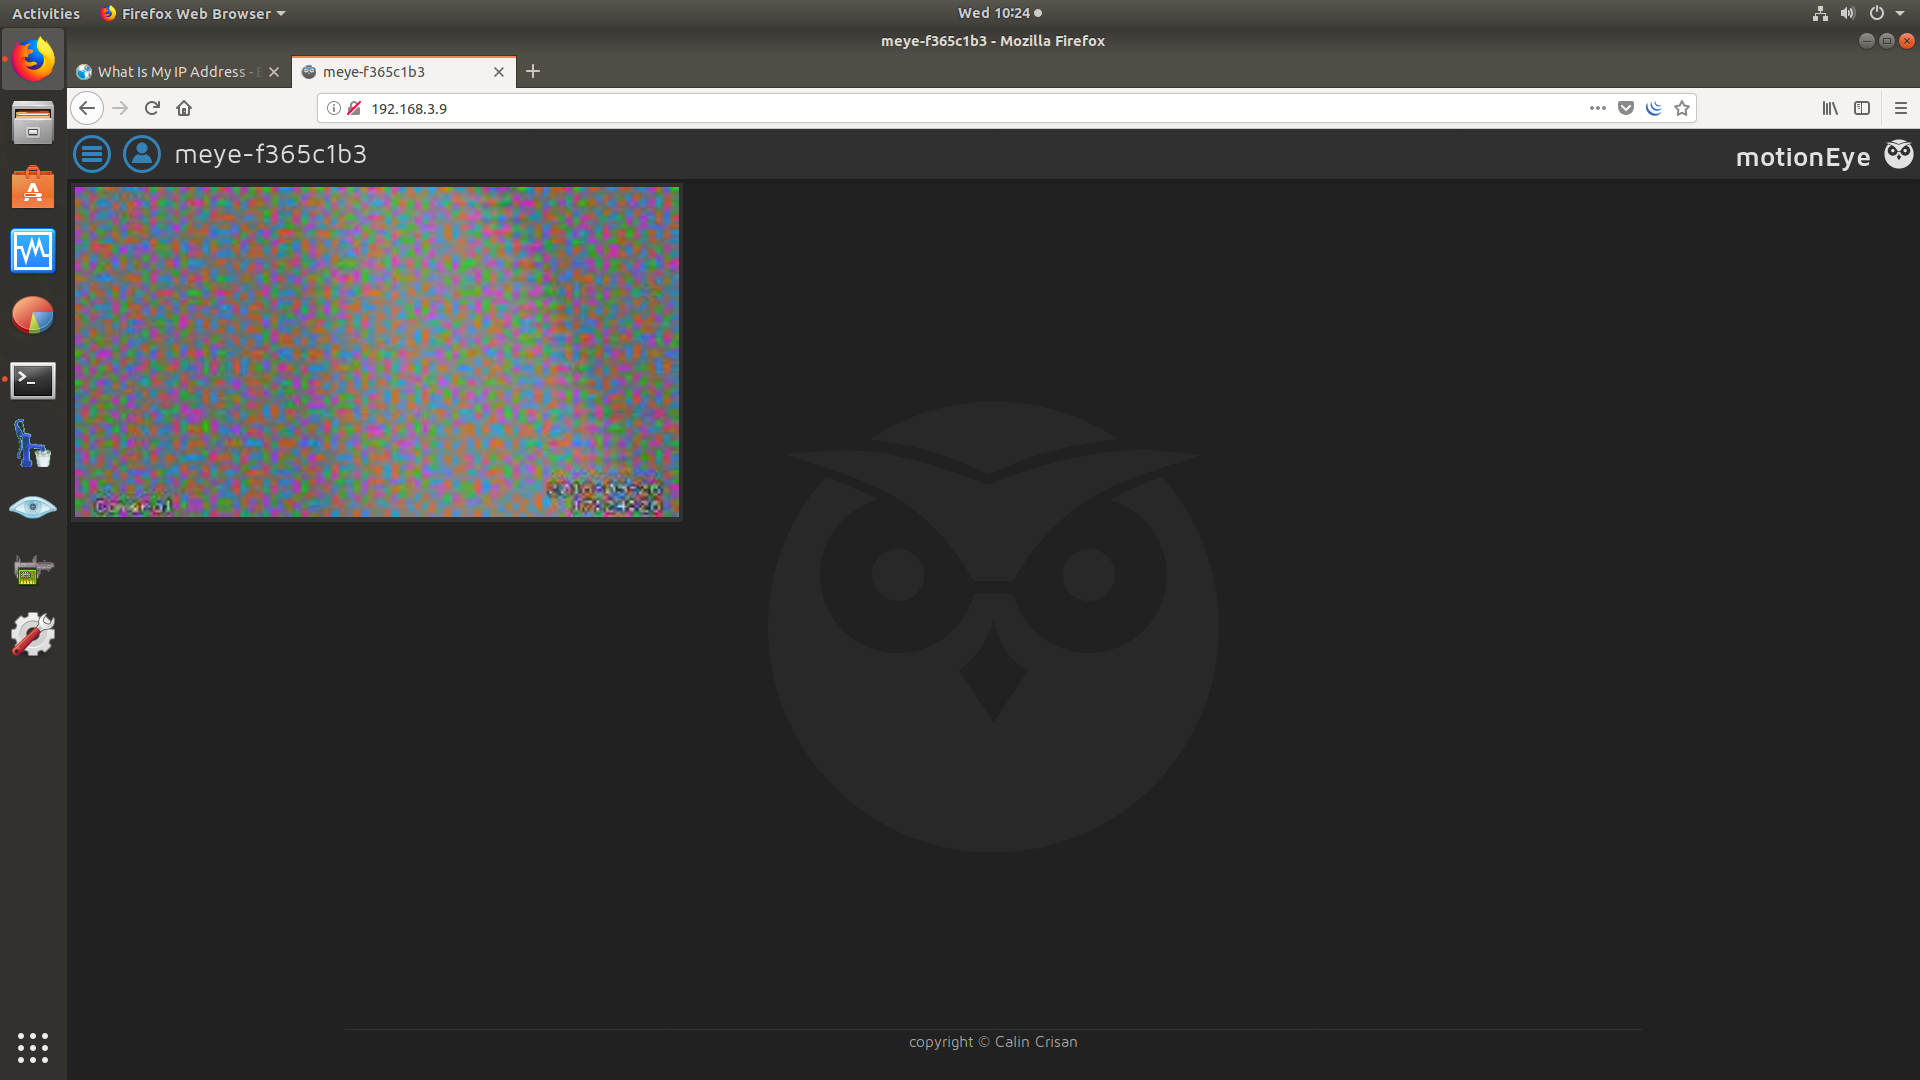
If you connect a monitor to the Raspberry Pi running motioneyeOS, it will also display its IP at the prompt. As we can see, the USB webcam doesn’t want to play video properly. I investigated on the web for a while, and tried routing the USB webcam through a powered hub. (This was one of the possible solutions I found online.) All to no avail.
At this point, to be thorough, I also downloaded the Raspberry Pi 3 image for motioneyeOS.
I flashed it on a 32gb micro SD card, temporarily decommissioned my retro gaming emulation project, and tested the USB webcam on a current and known working Raspberry Pi 3. (The cool thing about this is that restoring that project will only require swapping back my original micro SD card.)
Same results.
So the webcam isn’t going to work without some serious fiddling about. After giving this some more thought, I elected to buy the Raspberry Pi specific camera. If I’m going to have to buy a camera of some sort, best to get one made specific for the Rasberry Pi in the first place.
I settled on the Raspberry Pi Camera Module V2-8 Megapixel, 1080p. There are low light versions of these cameras, but I want the higher picture quality.
Troubleshooting
And this is where it gets messy. The module that came in the mail was either defective right out of the box, or I zapped it with static electricity early on.
I spent hours reinstalling Rasbian on the original Rasberry Pi, disconnecting and reconnecting the ribbon connector at both ends. I disconnected the camera module from the mini daughter board and reseated it. Reinstalled motioneyeOS, disconnecting and re-connecting the ribbon again. Repeated the whole process with the Rasberry Pi 3, both in Rasbian and motioneyeOS.
This confirmed that the camera module was indeed dead on arrival (DOA). Nothing I did yielded success. The best I could achieve was command line confirmation that the camera was present. The web interface of motioneyeOS always complained that the camera could not be initialized.
I decided to order a different camera module. I settled on the Keyestudio Camera Module 5MP REV 1.3 for Raspberry Pi. It is Rasberry Pi specific, but a different brand than my first attempt.
This solved all the problems, and I was met with success on the first boot attempt of the classic Rasberry Pi running motioneyeOS.
To have access to all the features and settings of motioneyeOS, you need to login as “admin.”
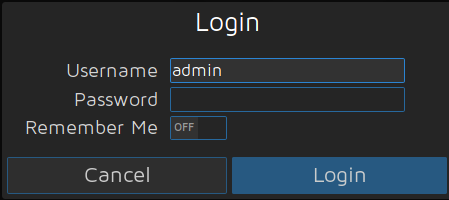
The username and password should be changed to something non-default when you deploy this in your hotel room.”>
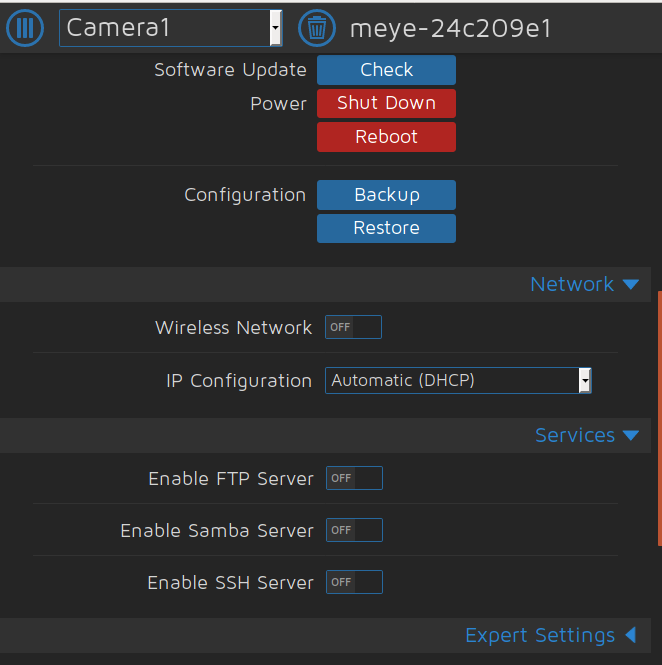
I also disabled the FTP server, the samba server, and the SSH server. I want to reduce the surface of attack for this device as much as possible. I can either retrieve the desired footage directly from the micro SD card, or by re-enabling SSH afterwards.
If DHCP is enabled and the network cable is disconnected, the machine will boot loop as it tries to renew an IP address.
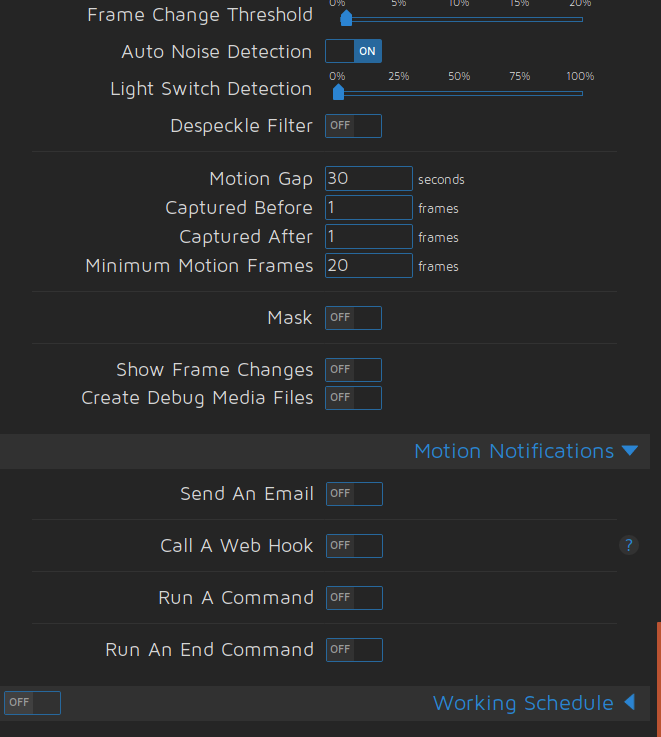
In the advanced settings, you can also enable motion notification. This is where you would enable the actions to take place should a motion be detected. This is also where you would configure the aforementioned nova cellular modem.
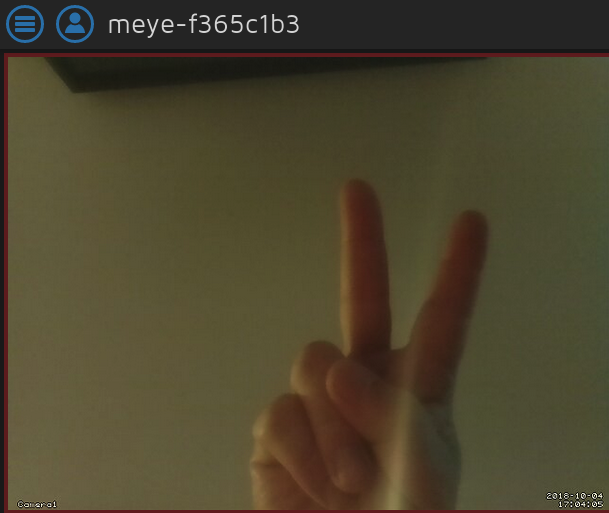
The final product
So there you have it. After some effort, we have a motion-activated security camera, built with off-the-shelf components and open-source software.

What lessons did we learn?
- Don’t assume the hardware you have is working. It went in the junk pile for a reason. For example, I wasn’t able to up-cycle the USB webcam.
- Micro SD memory cards are small and easily misplaced. (I lost one during this experiment!)
- SD cards can fail. I used the SD memory card formatter from https://www.sdcard.org to confirm this.
- Even new hardware can be defective. I had a defective Rasberry Pi camera. It failed right out of the box. This forced me to do a lot of detective work and test all the hardware.
- This wound up being quite a bit more expensive than an off-the-shelf commercial product. It was a great learning experience, though.
What’s left to do?
I need to build a good case for my Frankenstein security camera, because static electricity is a definitive concern here. Exposed electronics is a not a good thing. Also the security staff, should it actually visit your room, might be alarmed at seeing a hodge podge of components and wires sitting on a desk.
There are several articles on the web describing how to build and deploy motioneyeOS on a Rasberry Pi. I always find that they never give you the full story. Failures, both in hardware and software configurations, are an opportunity to learn.